How to Crop PDF Margins
Crop PDF margins step by step: trim scan borders or tighten page edges per side, with a live preview and page ranges. Free and local.
Crop your PDF nowA scanned page carries its own picture frame: the black edge of the glass, a shadow band, a strip of desk the scanner caught. Cropping the margins takes the frame off every page and leaves the document.
This guide shows how to crop PDF margins in AmiPDF: per-side values in millimetres or inches, a drag handle for fine-tuning, and a live preview of exactly what each page will keep. Everything runs in the browser, so scans of signed or sensitive papers never leave the device.
Open the crop tool and follow along; the whole job is usually under a minute.
Cropping margins, step by step
Add your PDF and check the preview
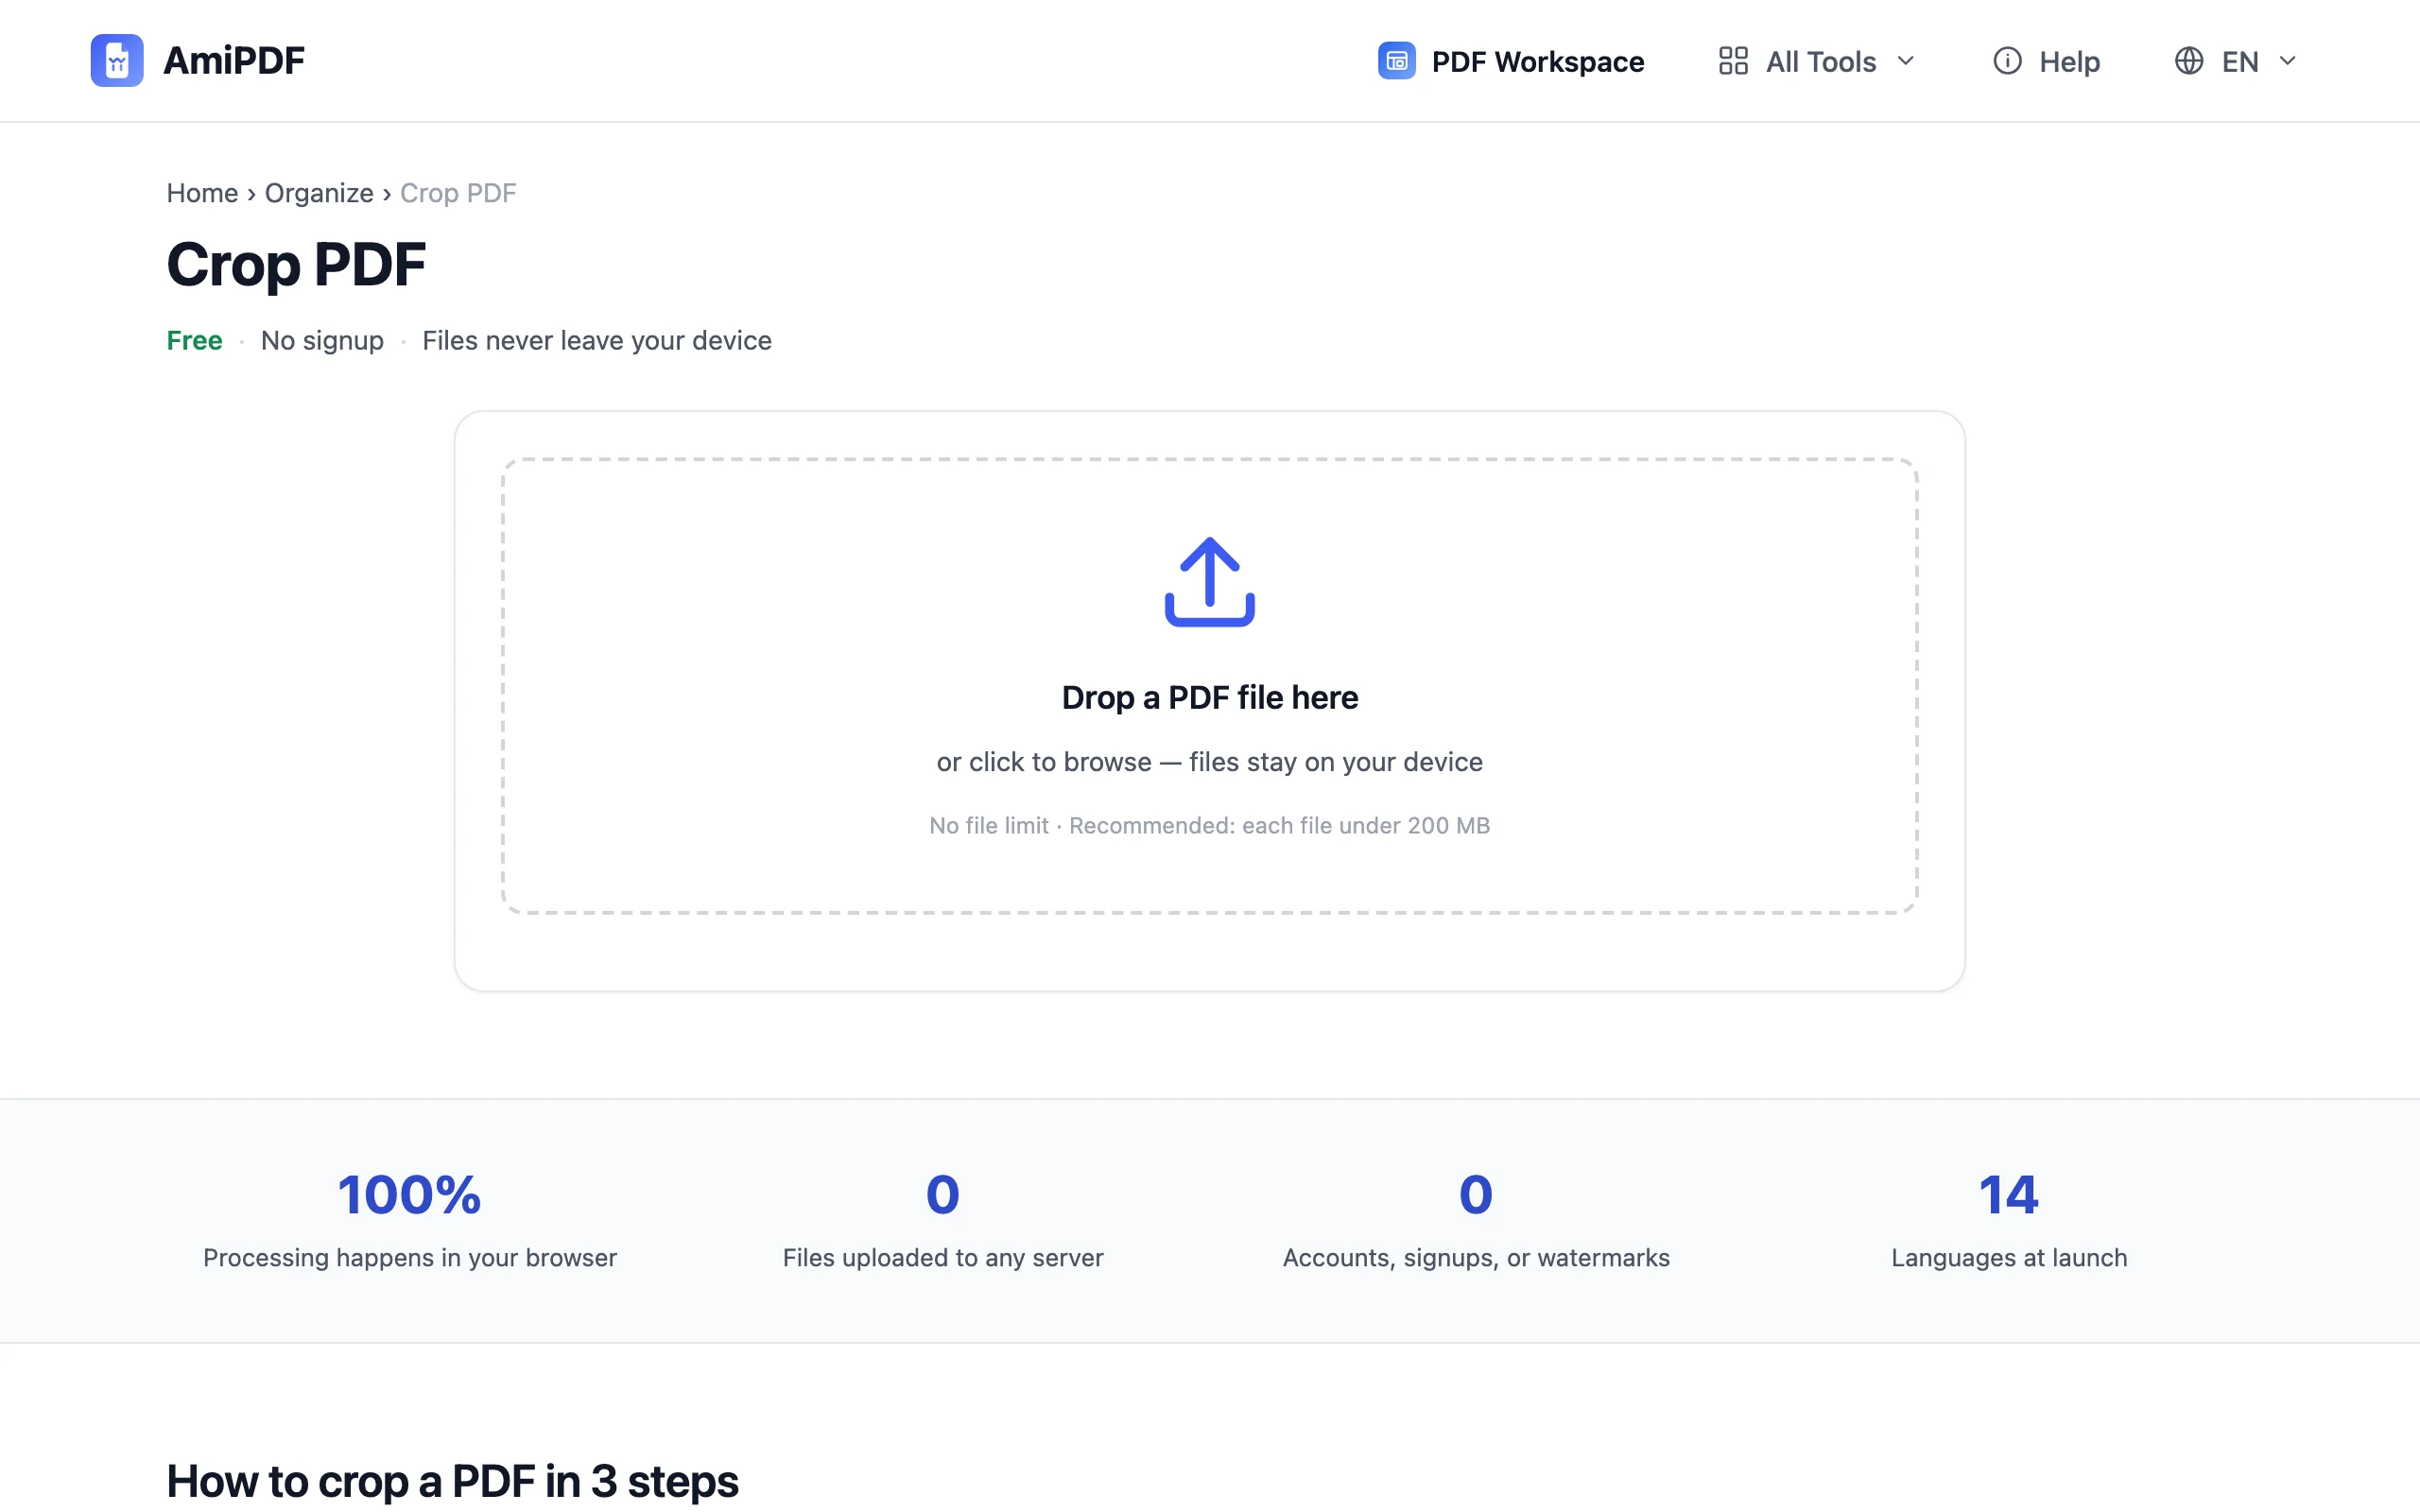
Go to the AmiPDF crop tool and drop the file. Page thumbnails render with their current margins; click any page to select which ones get cropped, or leave the range field empty for the whole document.
Set the margins per side
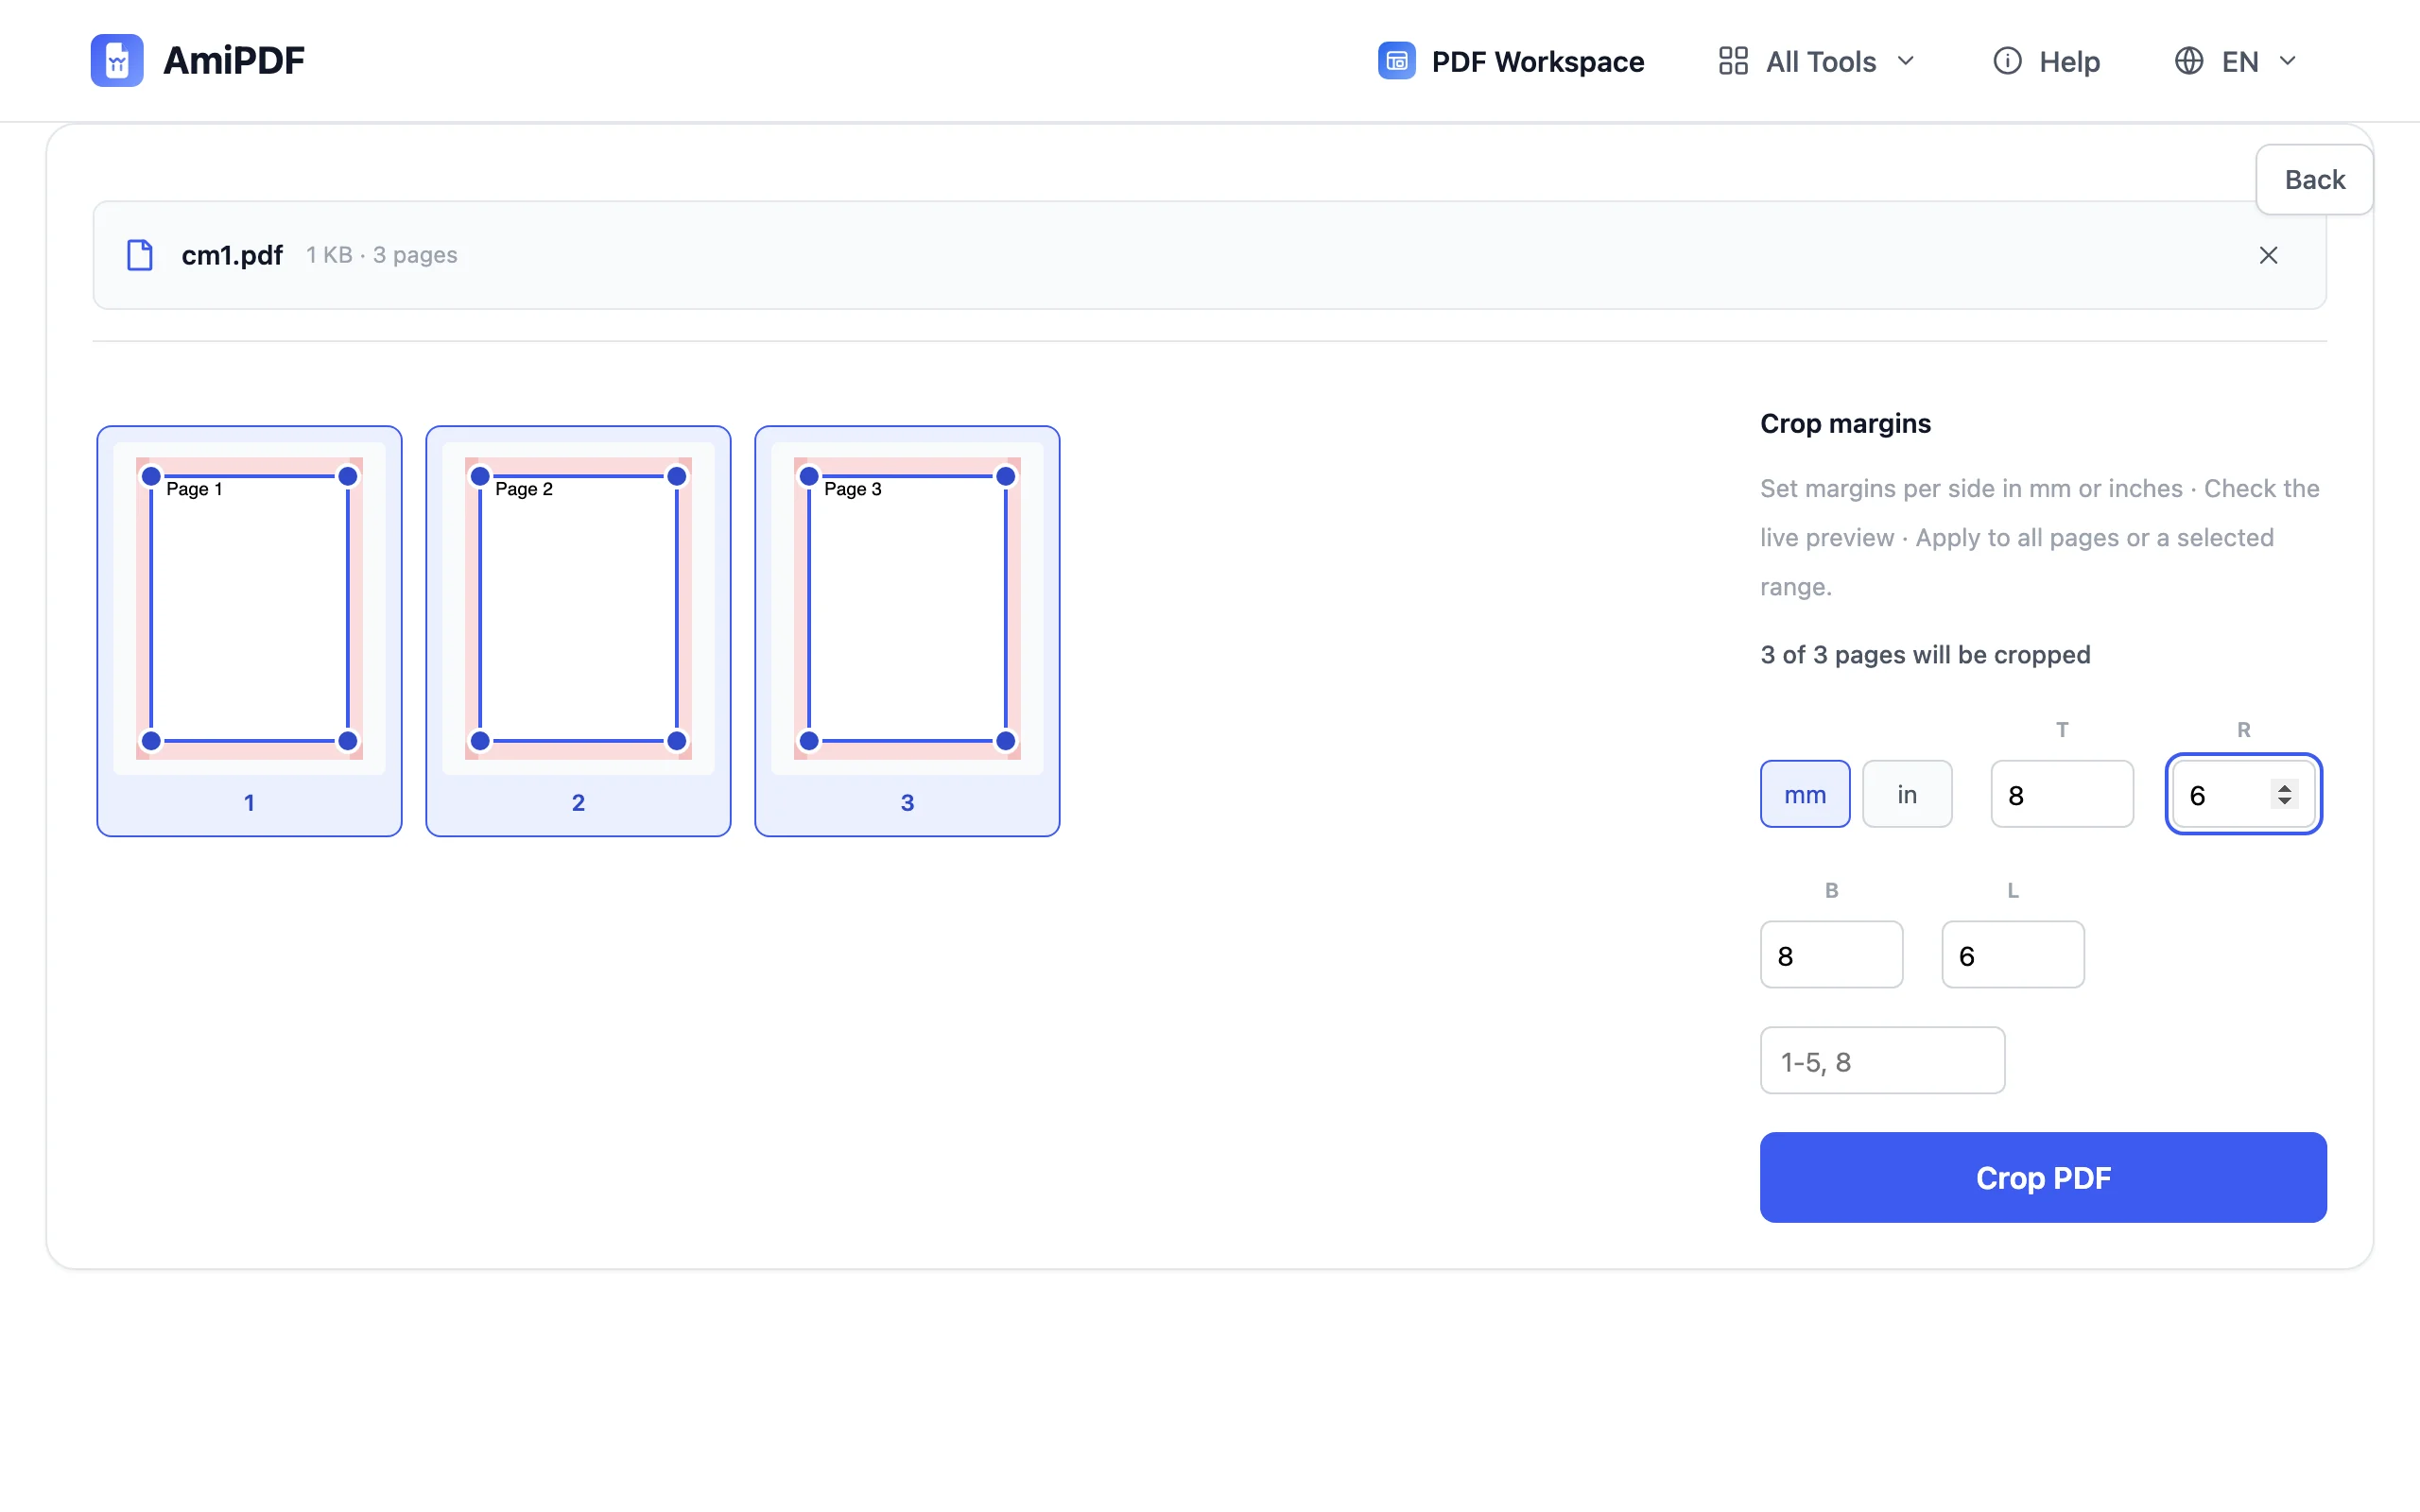
To crop PDF margins, four number fields set how much each edge loses: top, right, bottom, left. Toggle between mm and in above the fields; values convert on the spot, so a 10 mm border can also be entered as the matching fraction of an inch. Every keystroke repaints the preview.
Drag the crop window for fine-tuning
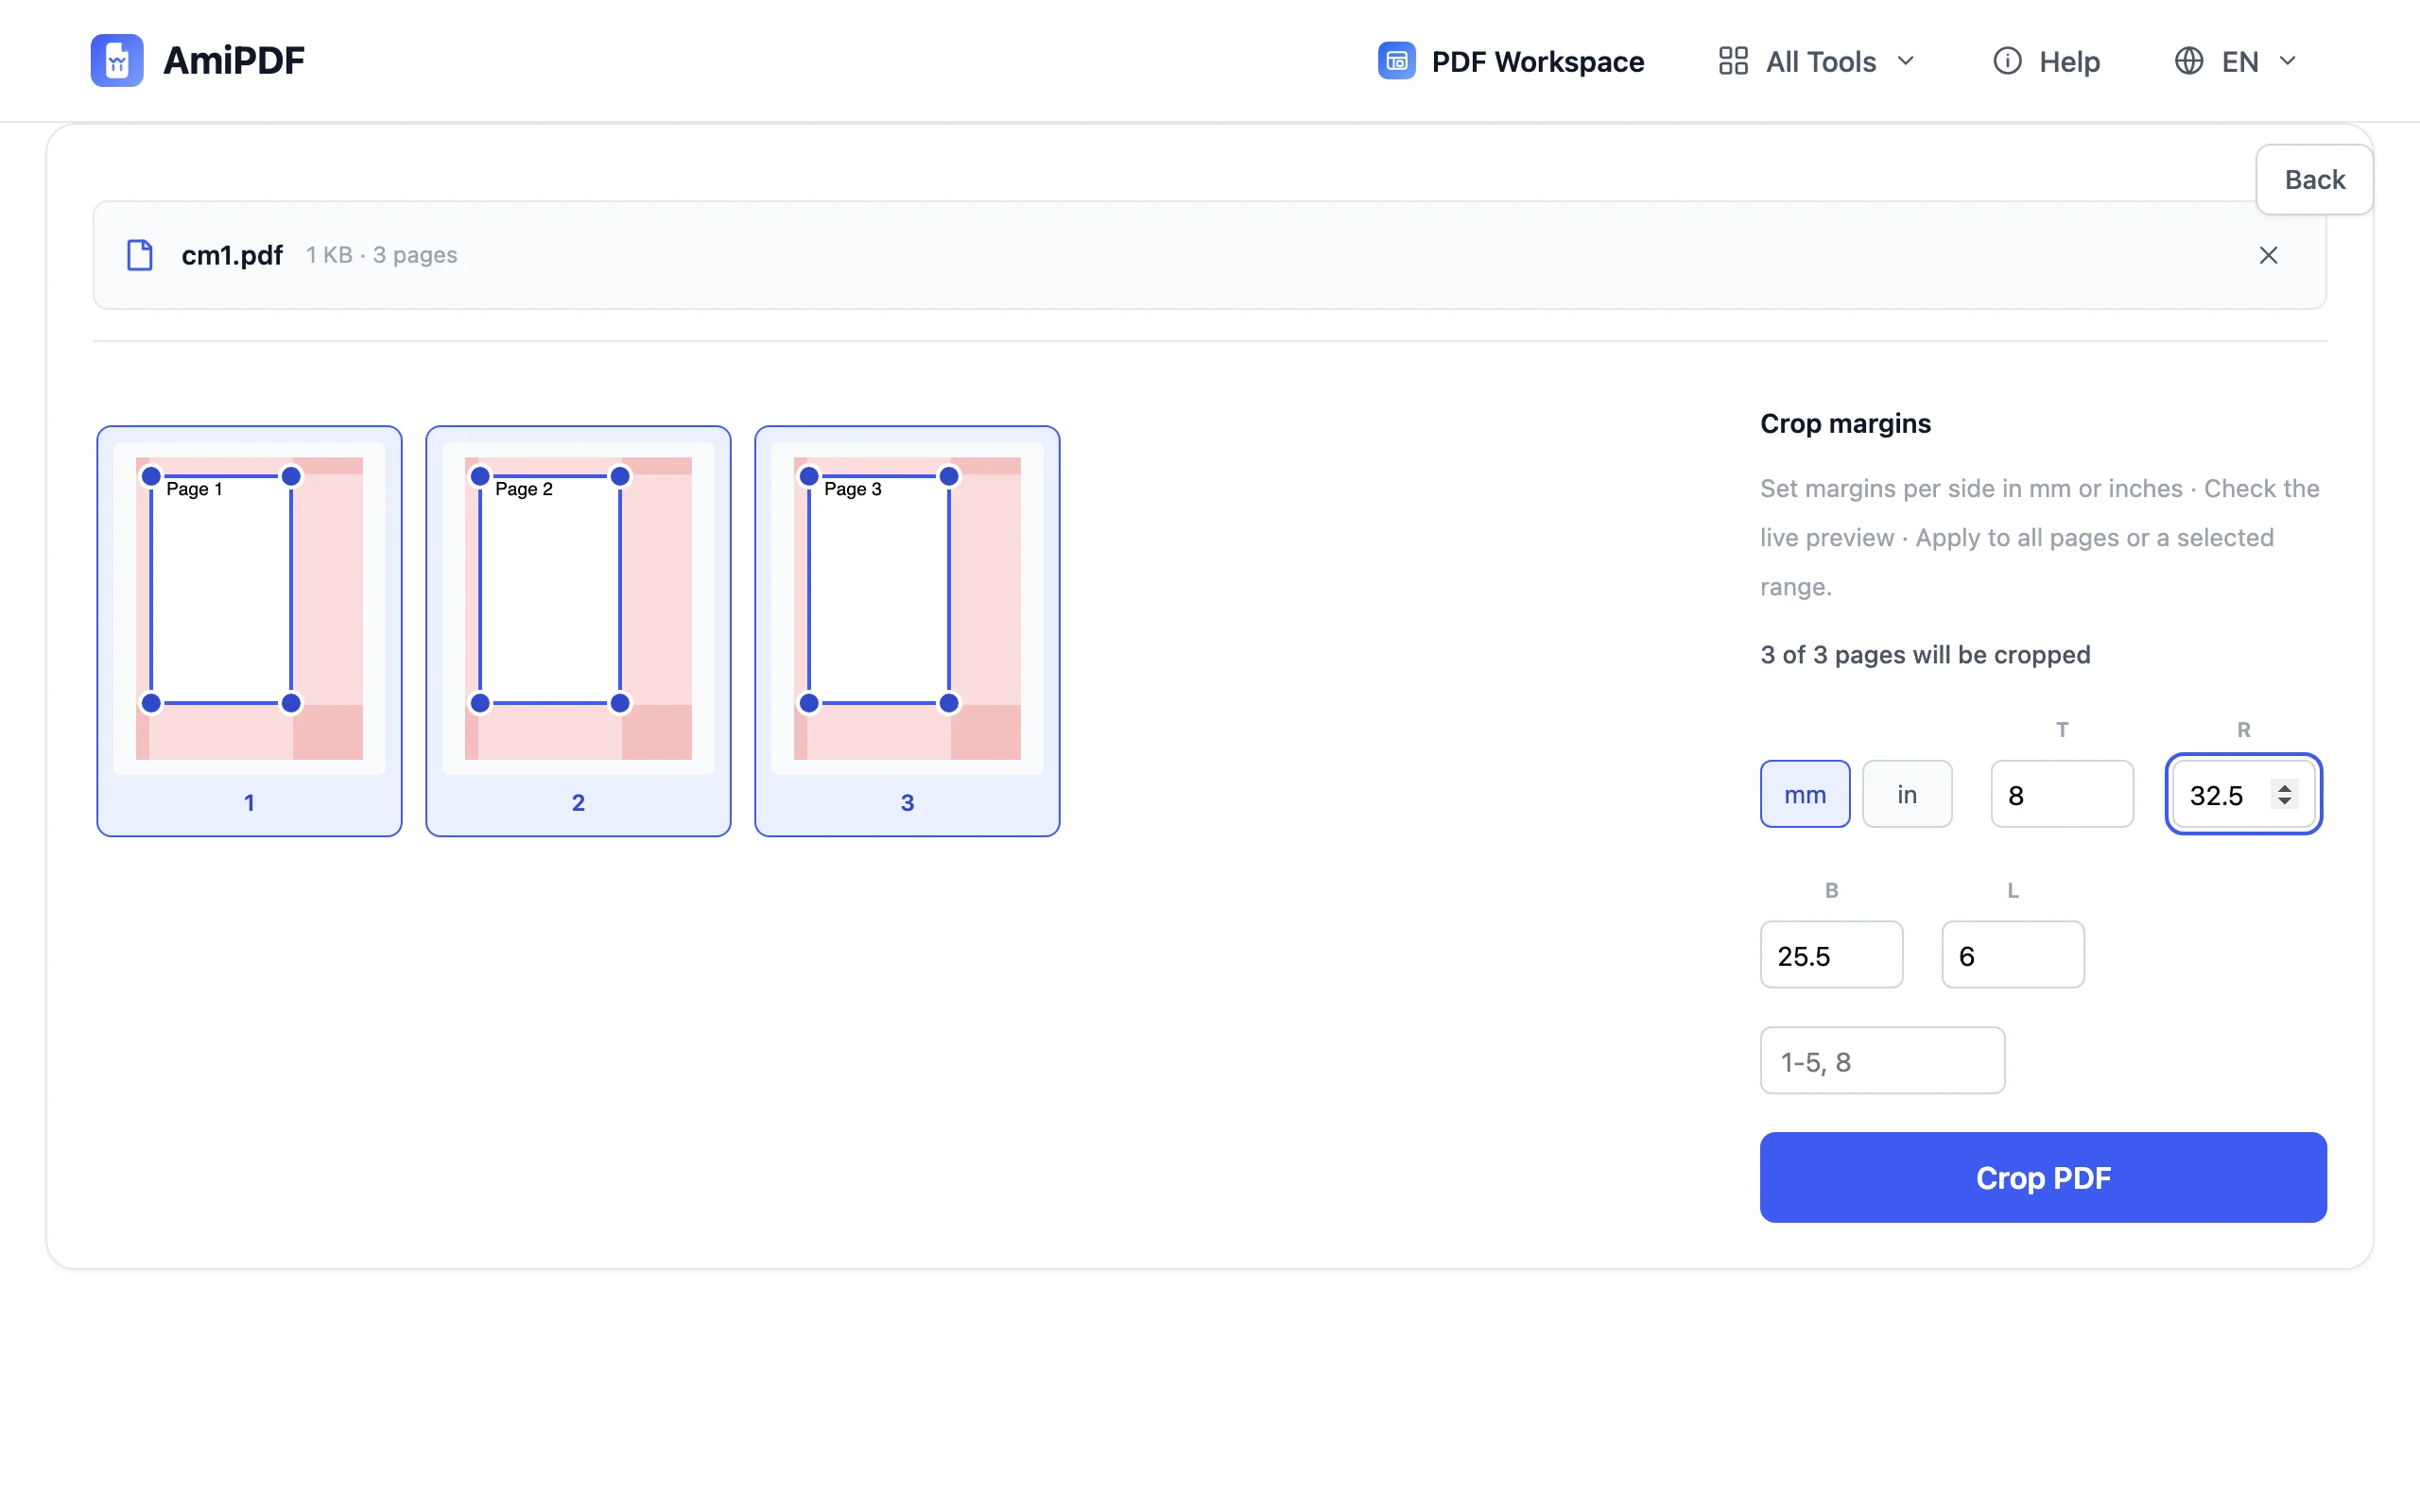
Numbers get you close; the drag window gets you exact. Grab a corner handle on any selected page and pull it in, and the four fields update live as you drag, so what you see is a measurement, not a guess. When all four sides look right, move on.
Download the cropped file
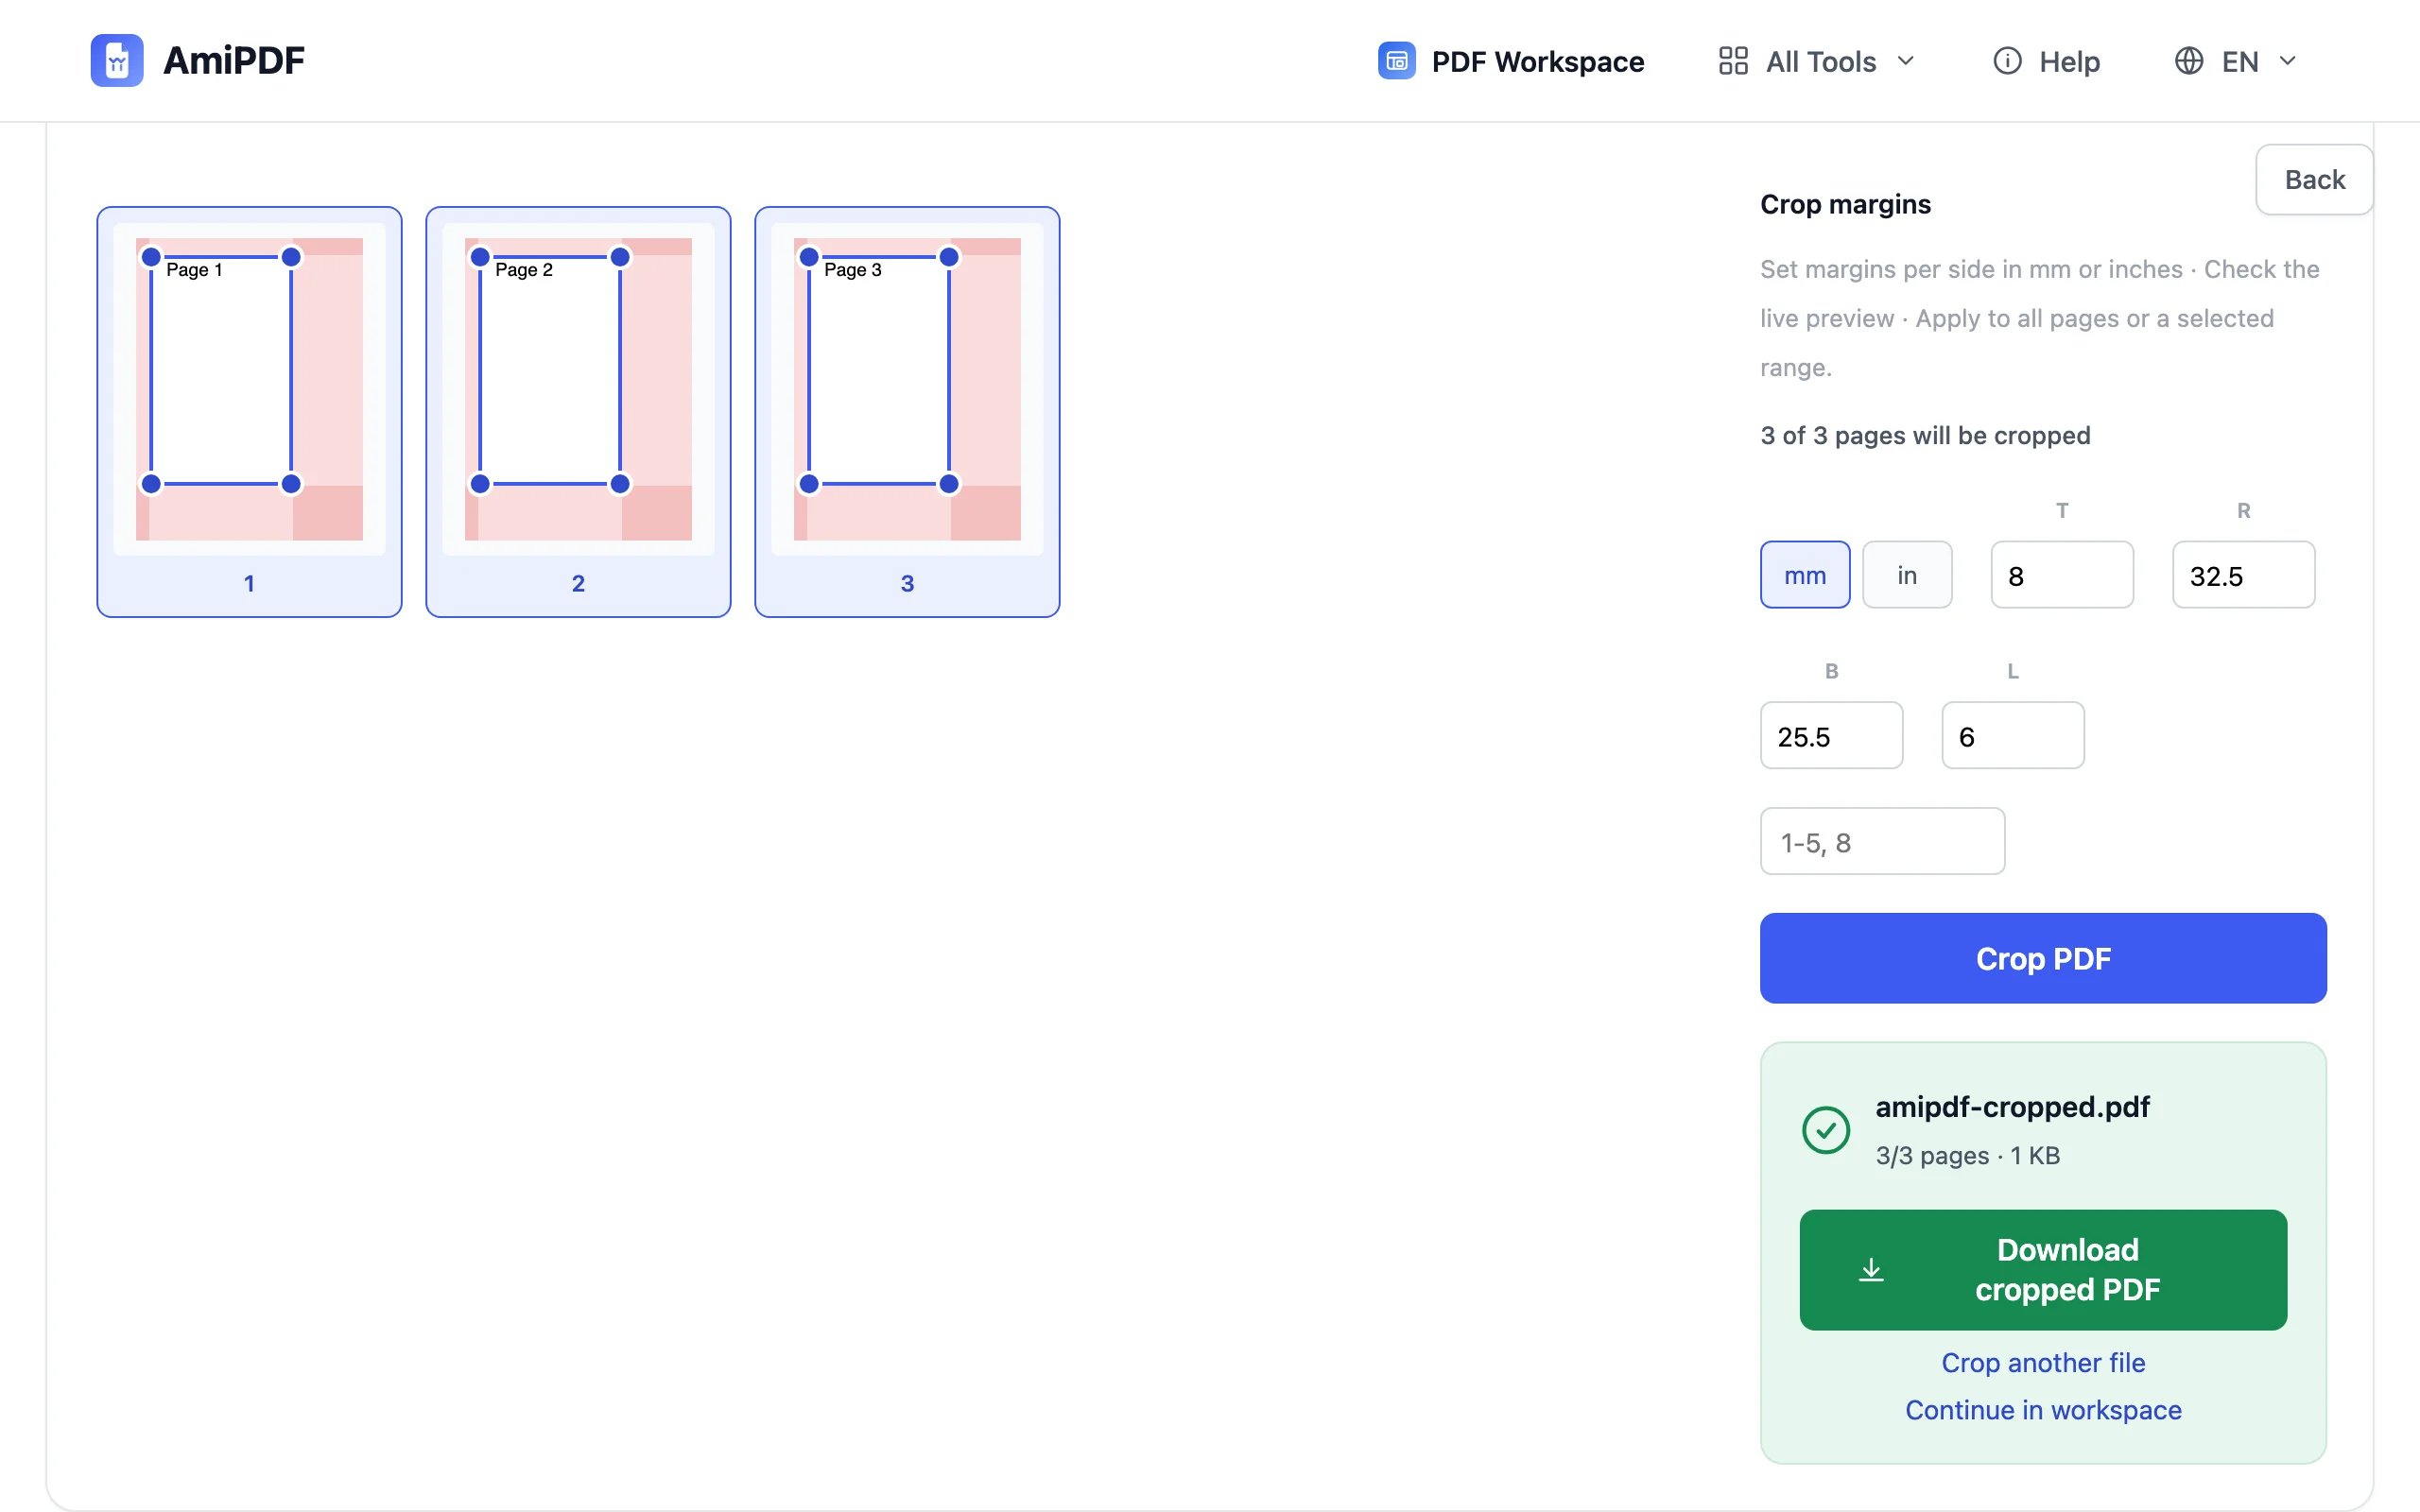
Press the crop button and download. The summary reports how many pages were processed and the output size; unselected pages pass through untouched.
Getting the best results
Match the worst page, not the average
One margin setting applies to every selected page, so scan batches should be measured against the page with the widest border. Set the margins so that page comes out clean; pages with narrower borders lose a sliver of white, which is invisible on paper anyway.
Crop first, compress second
Border pixels are pure dead weight in a scan. Cropping a scan before running it through the compress tool regularly saves more than compression alone, because the encoder stops spending bytes on the desk.
Uneven borders need two passes
A stack fed through a sheet-feeder rarely aligns twice. When some pages lean left and others right, run the tool twice: one pass with a range like 1-4 for the crooked batch, a second pass for the rest, instead of chasing a single compromise value.
Frequently asked questions
How much margin should I keep for printing?
Home and office printers cannot usually print closer than about 5 mm to the paper edge. Keep at least that much on pages meant for paper; anything tighter risks the printer clipping your content.
Can the tool find the white borders automatically?
Not yet. You set the four values yourself and watch the preview — accurate, but manual. Automatic blank-edge detection is on the roadmap.
Is cropping the same as scaling?
No. Cropping cuts content off the edges and keeps the page size; scaling keeps all content and shrinks or grows it on the page. To fit a cropped page back onto A4, run the result through a conversion that re-lays pages out.
Why does my cropped scan still show a thin white edge?
Scan borders are rarely perfectly uniform — one corner sits a millimetre lower than the other three. Push that side's value up until the preview is clean; the live preview exists precisely for this kind of trial.