How to Make a PDF Look Scanned
How to make a PDF look scanned: color, grayscale or B&W modes, paper tint, skew and grain with a live preview of every change. Free and local.
Make your scanned PDFA page that was born digital looks it: ruler-straight text, a background of pure white, not a speck of grain. Put a real scan next to it and the differences pile up: the page sits slightly crooked, the paper carries a shade of grey, the sensor leaves a faint fingerprint of noise.
Some desks still ask for a scanned copy even when the file you have is perfectly readable. To make a PDF look scanned, the scan-look tool renders each page with a paper tint, a slight skew and grain, and shows the result live before anything is generated.
The scan look, step by step
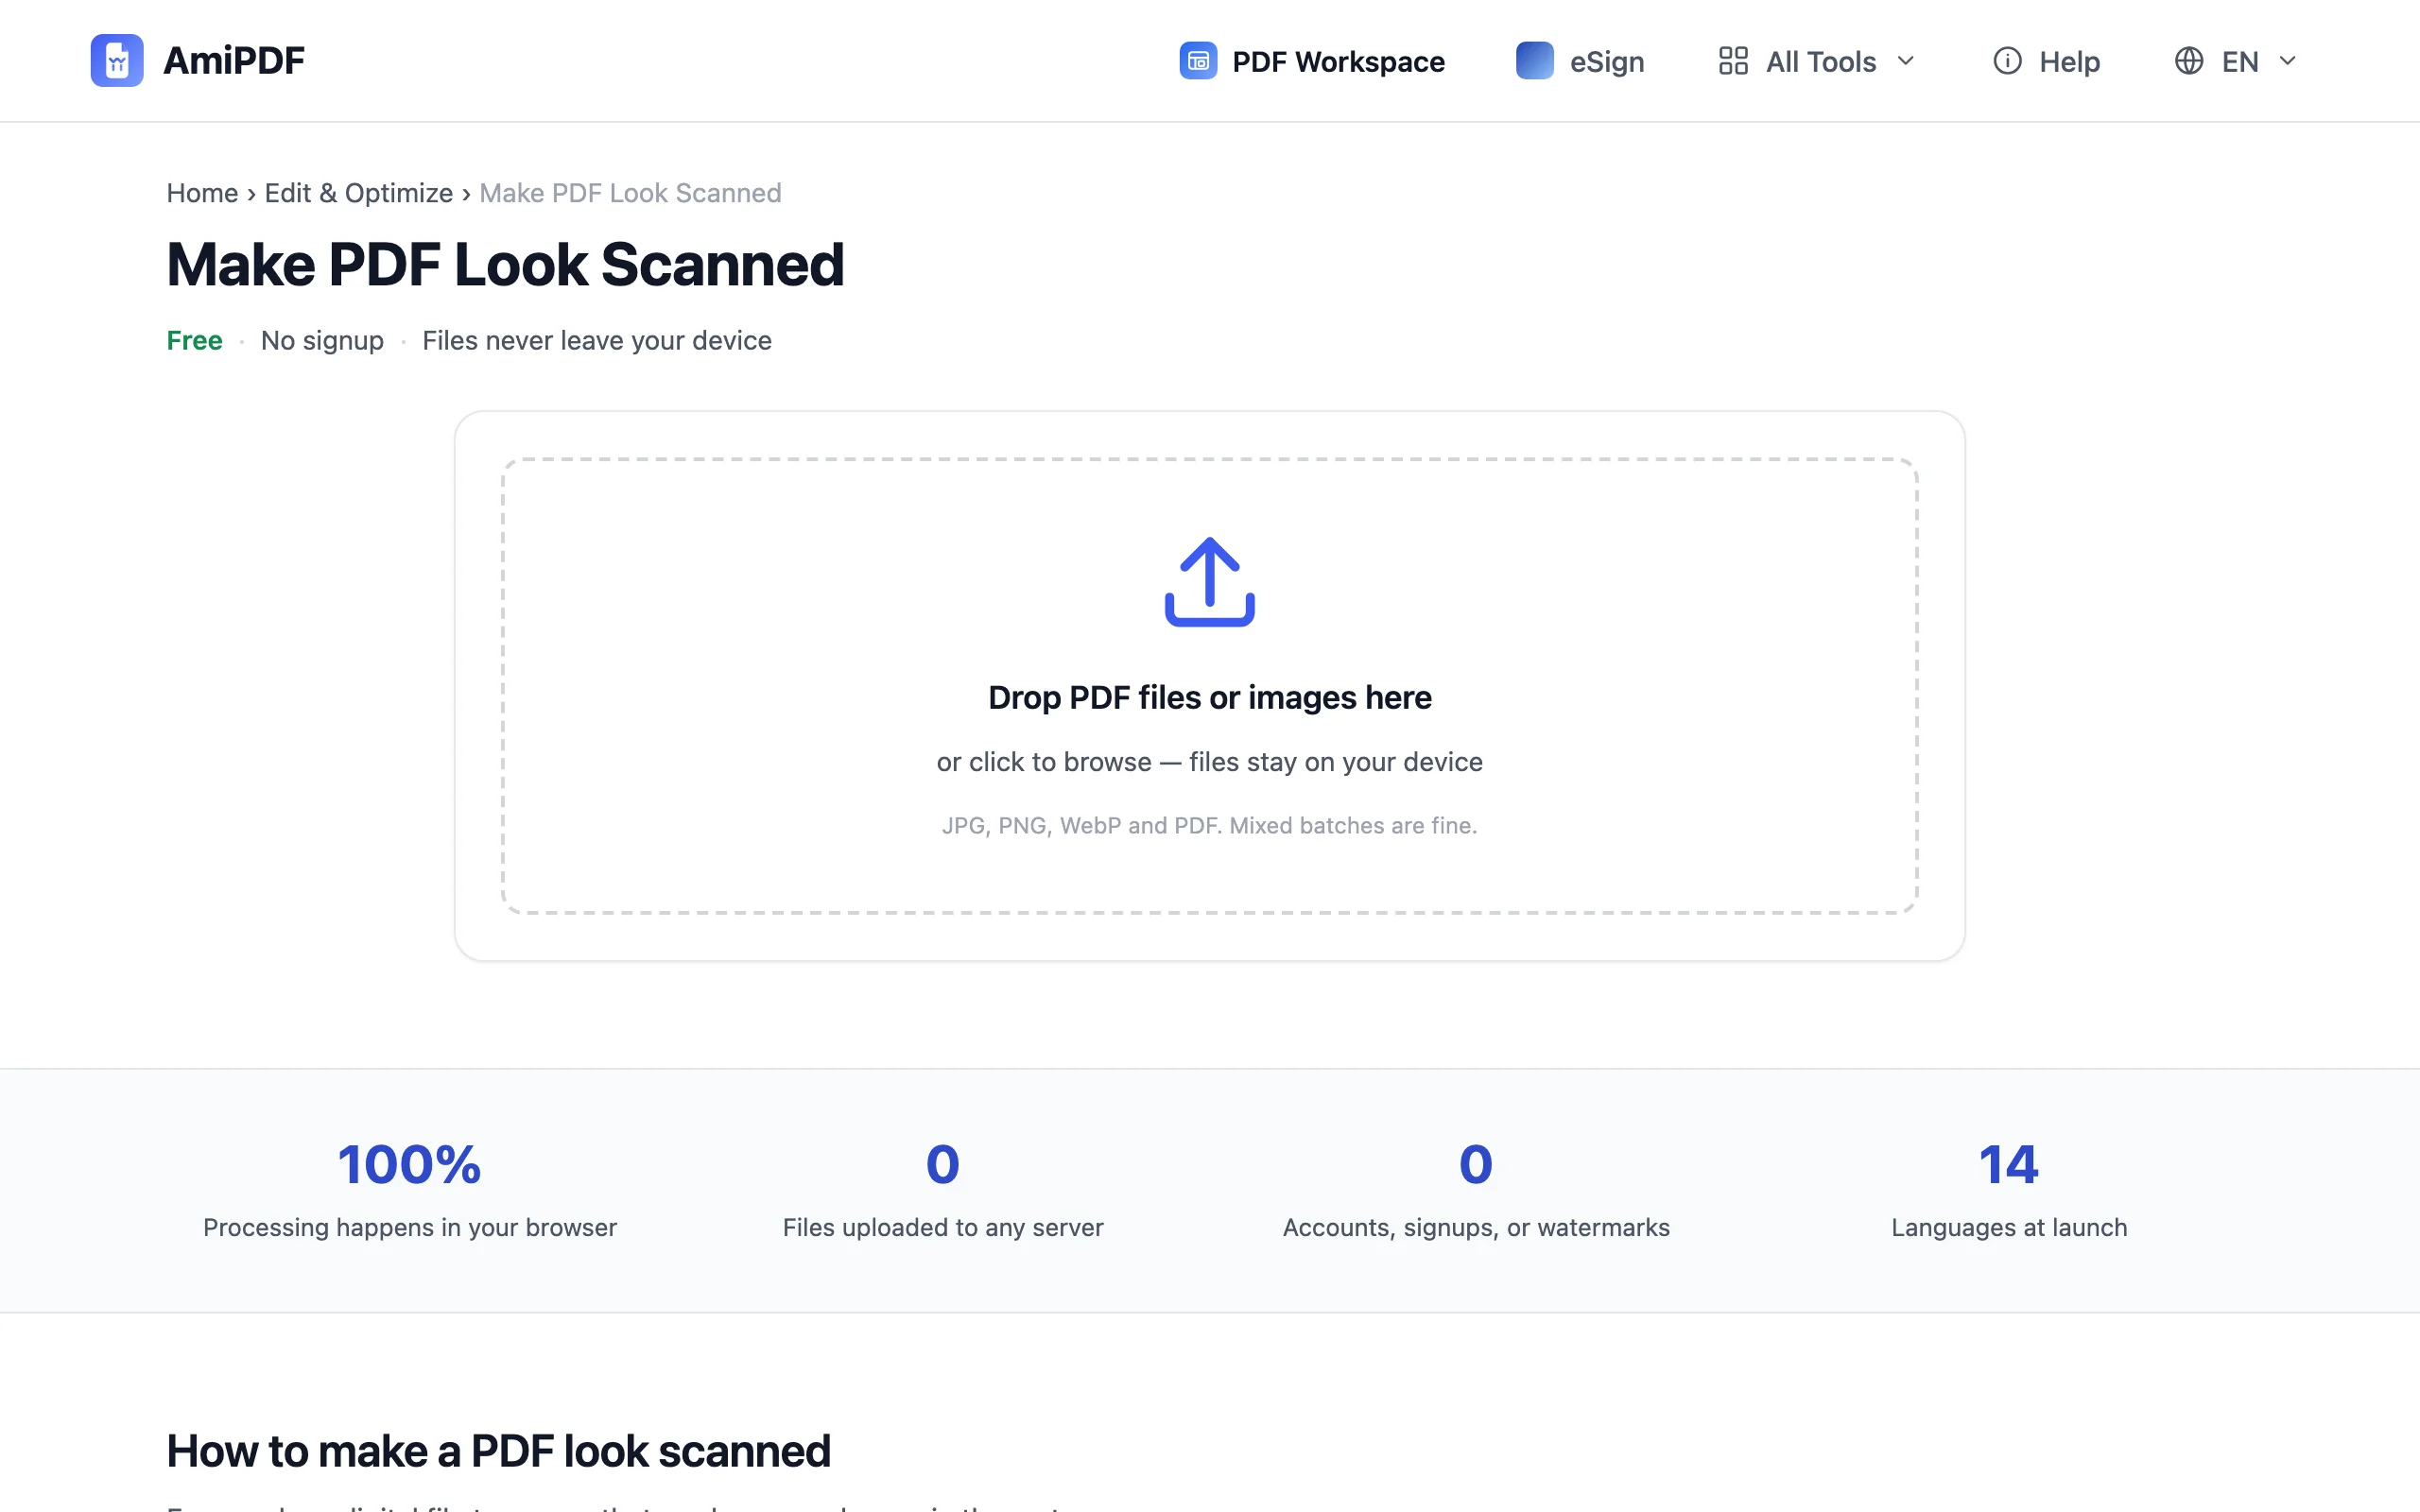
Add the PDF, or photos
Open the scan-look tool and drop the file. JPG, PNG and WebP photos are accepted too, alone or mixed with PDFs; every file in the queue comes out as its own scanned-looking PDF, and nothing is merged along the way. The cards on the left hold the queue; click one to bring it into the preview.
Pick a color mode
Three modes cover how a scanner sees a page: Color, Grayscale, and Black & white. Grayscale is the default. The mode applies to the whole file, so judge it by the busiest page, the one with a stamp or an ink signature.
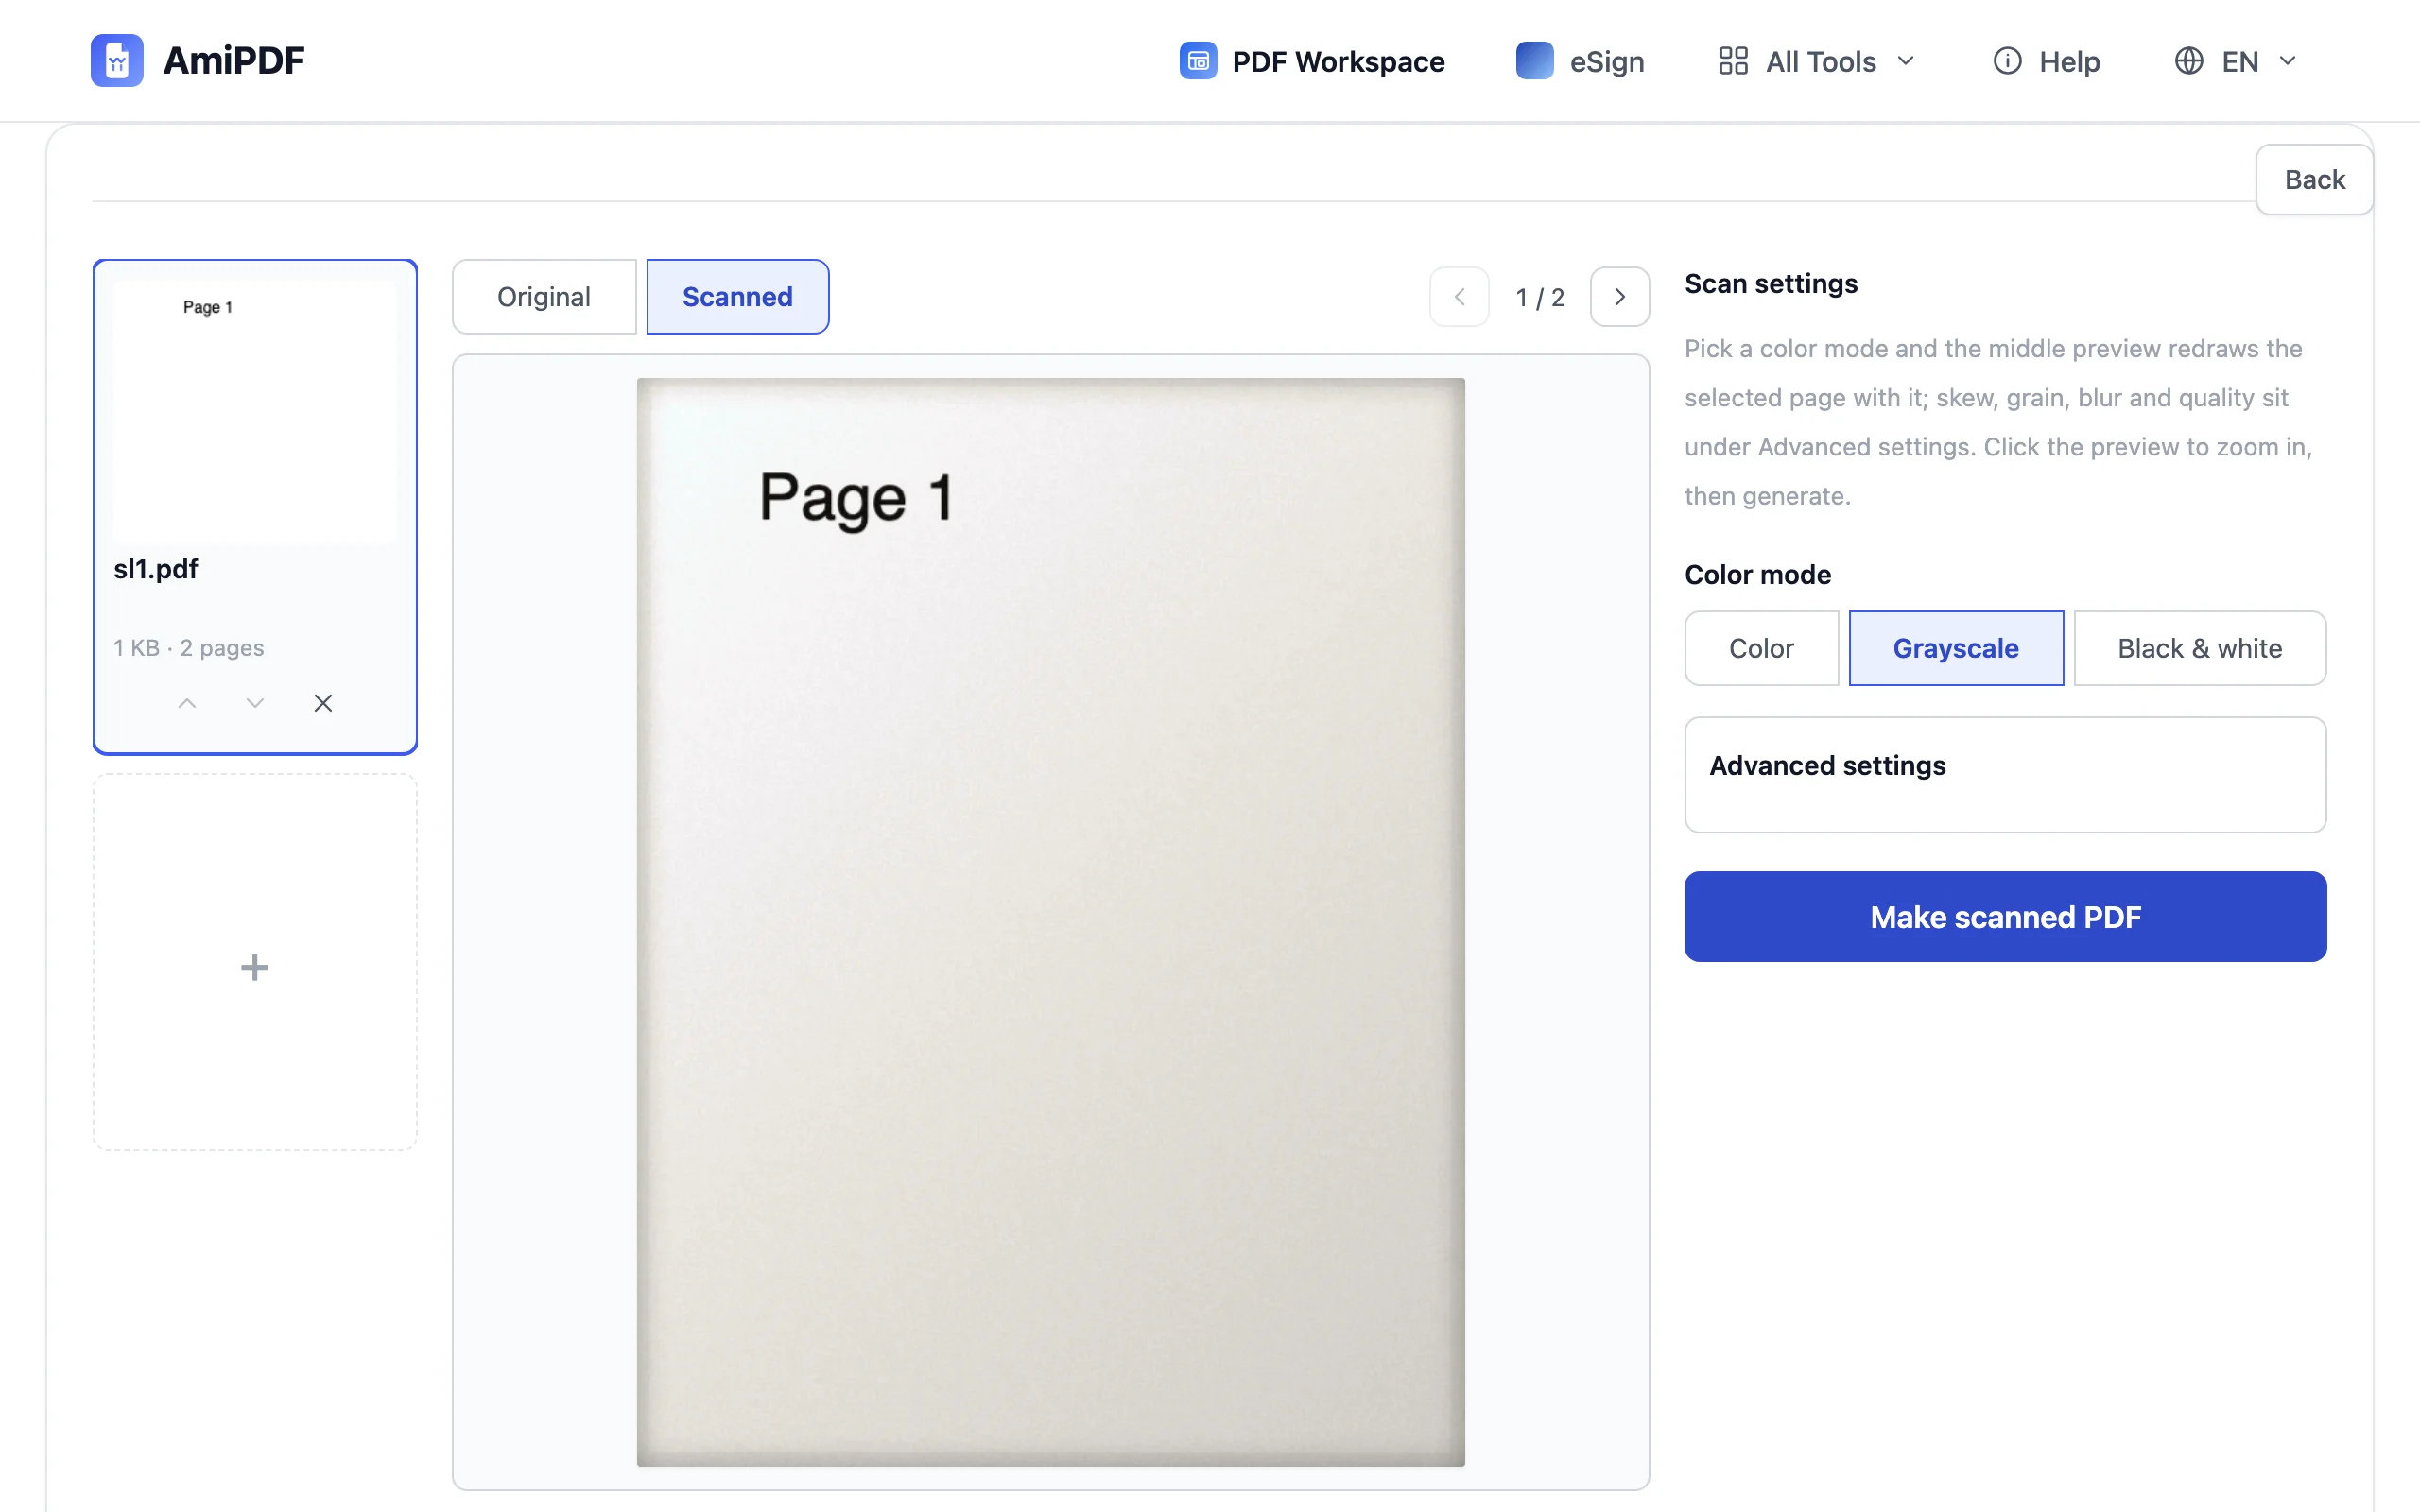
Check the preview and tune
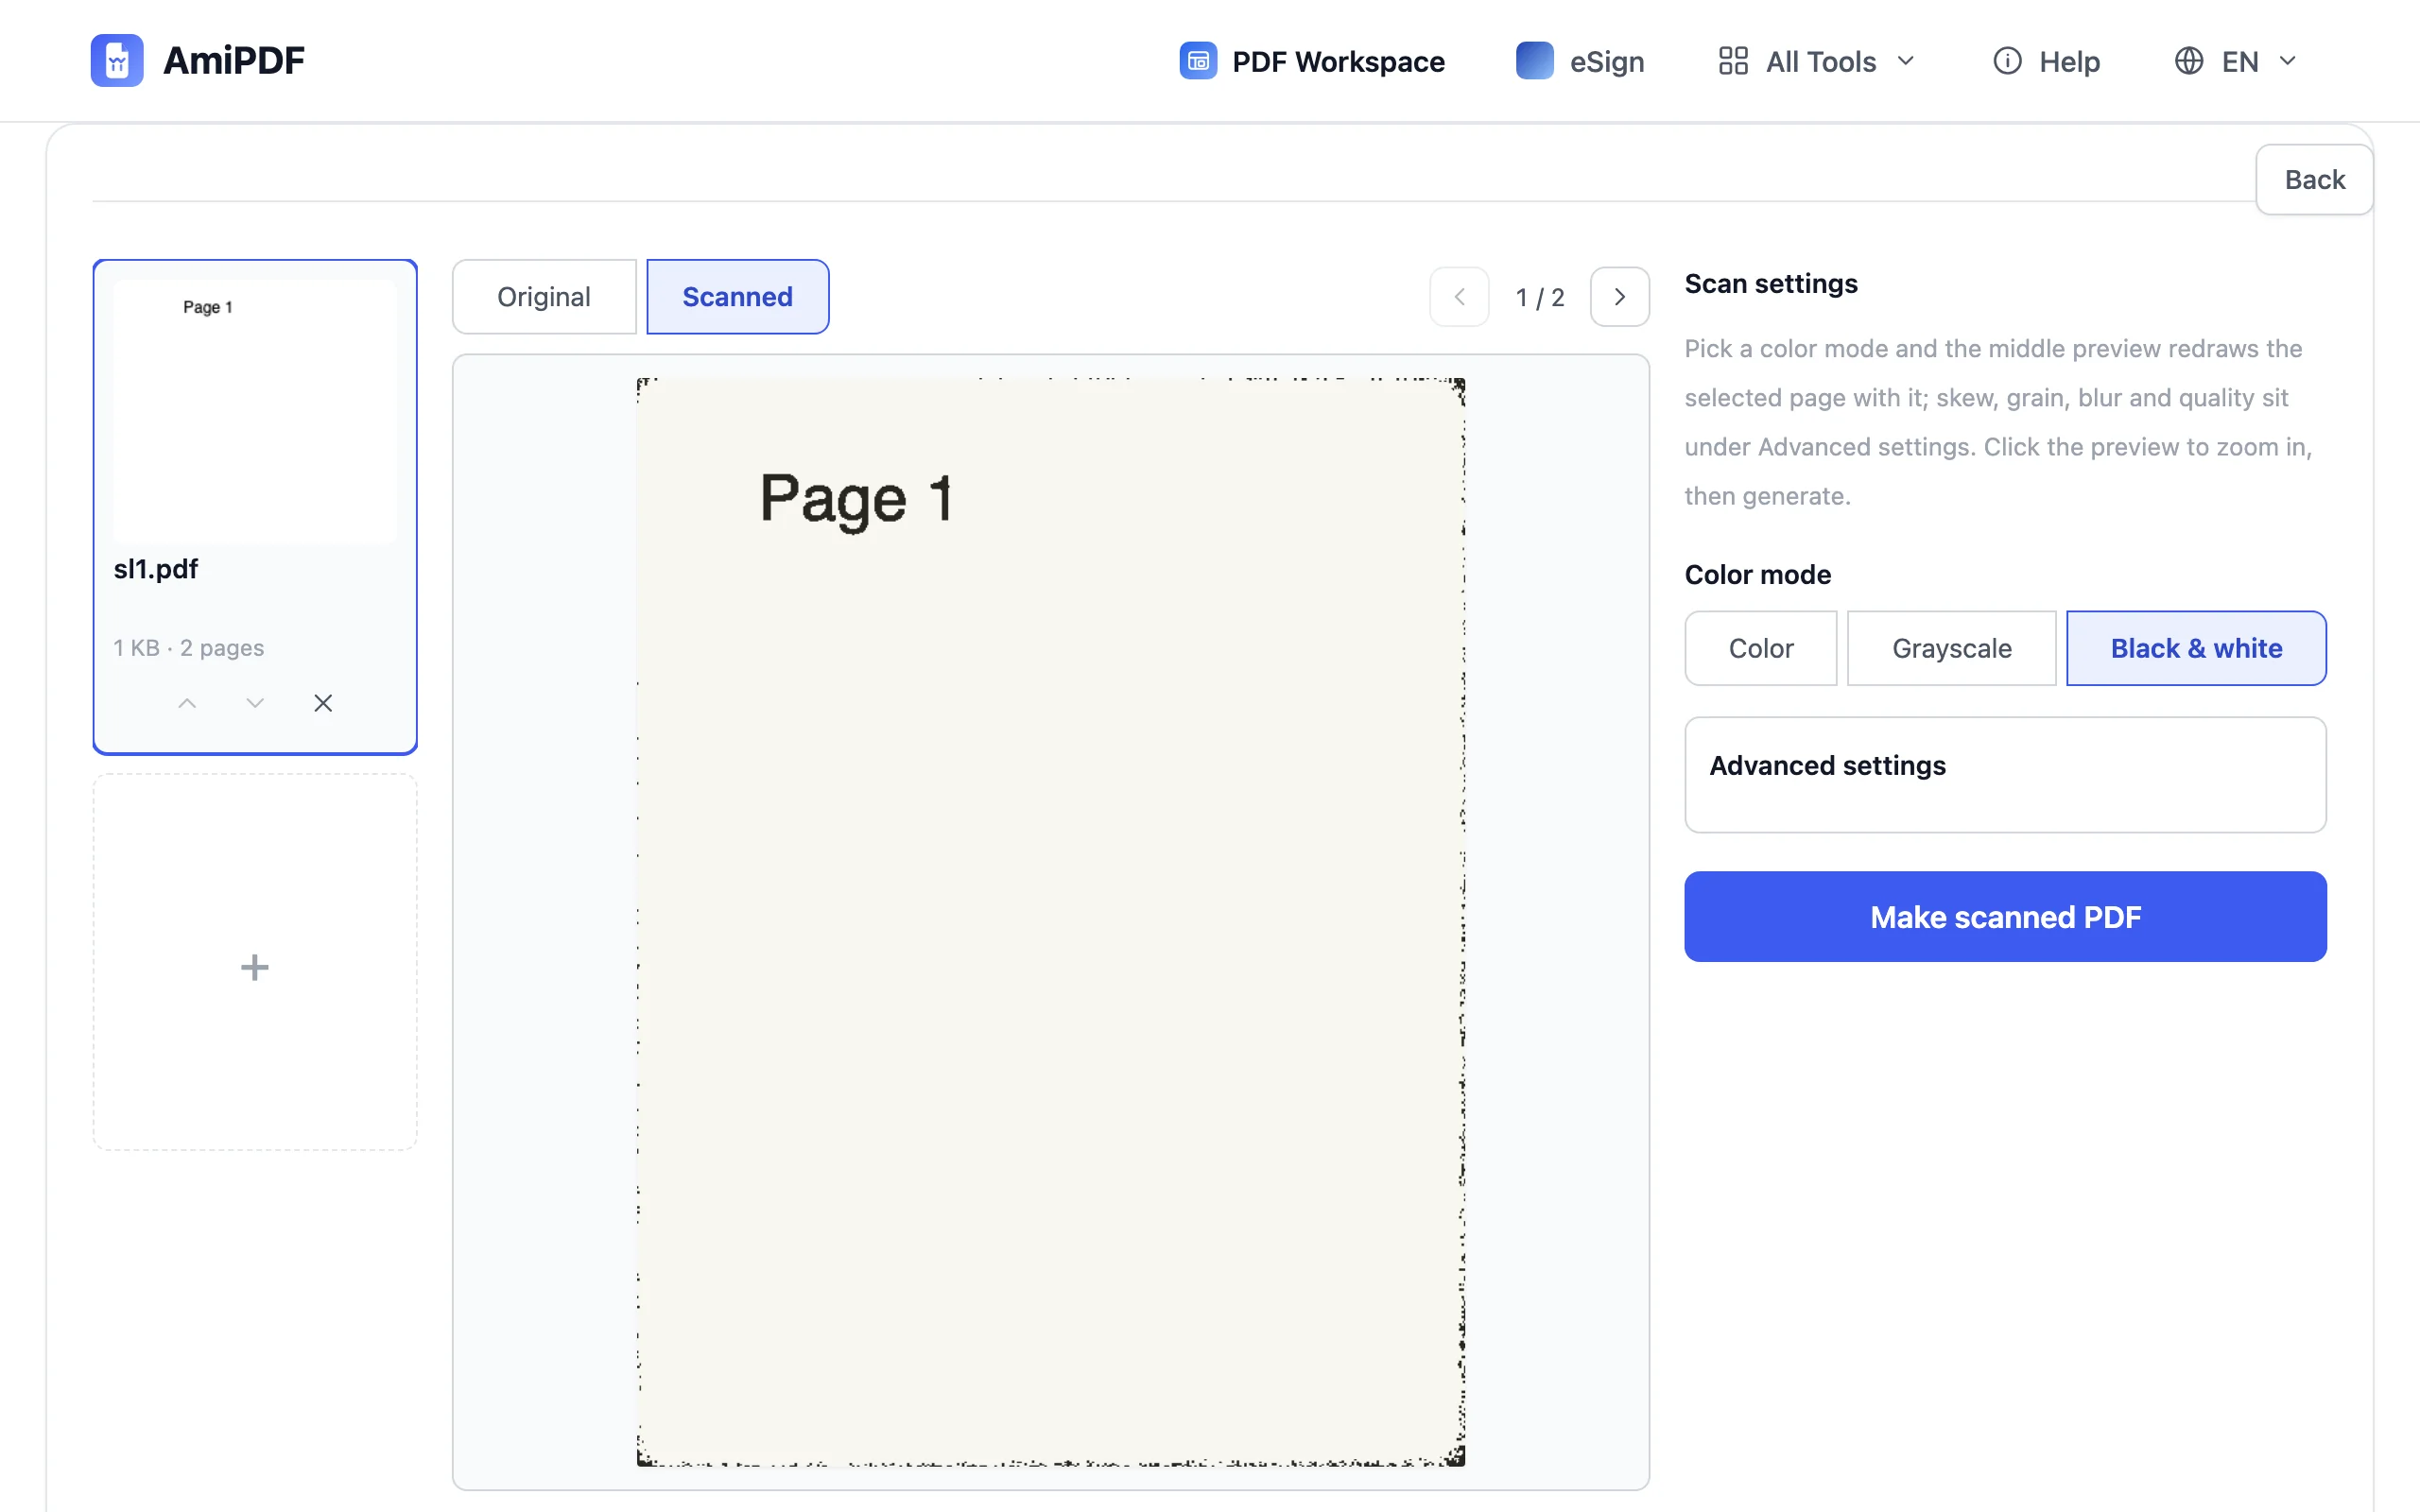
The middle panel draws the selected page exactly as the output will look. Flip between Scanned and Original above it to compare the two states, and click the preview to zoom in on detail. If the effect reads as too clean or too rough, open Advanced settings: paper tint, grain, blur, skew and output quality each have a slider, and the preview follows every move.
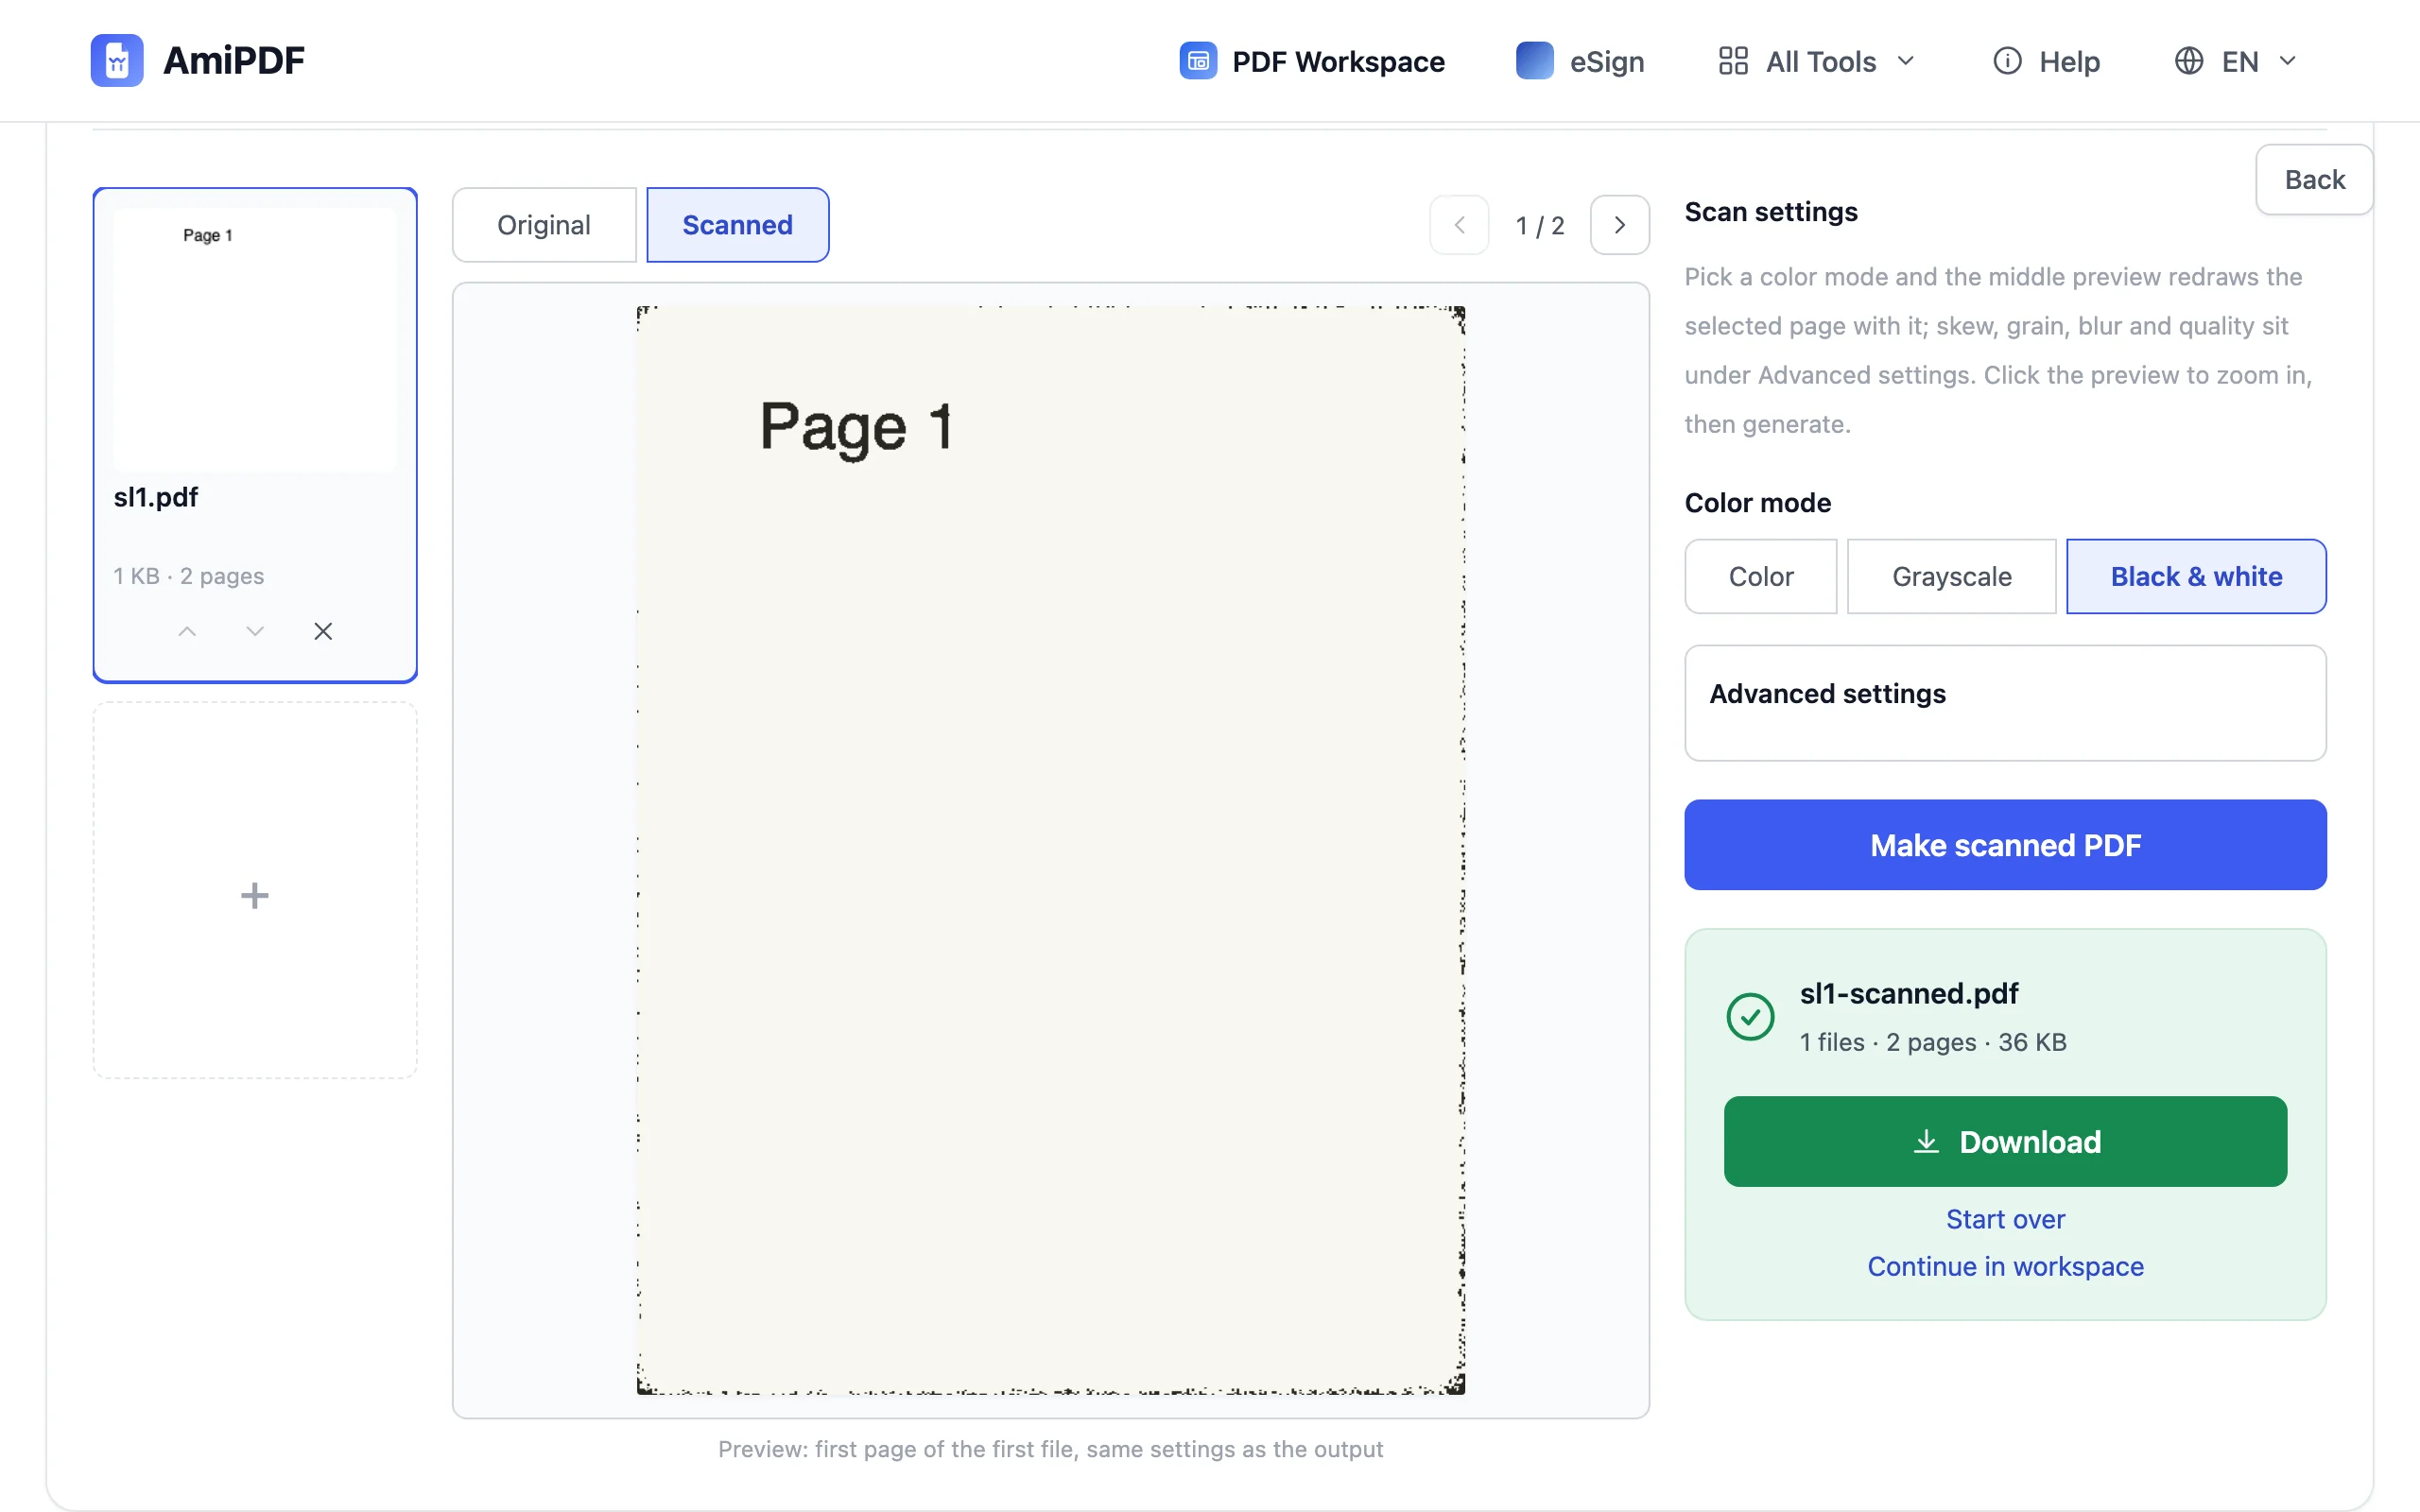
Generate and download
Click Make scanned PDF. Every input file is processed into its own PDF with exactly the settings you previewed, and the download matches what the middle panel showed. Page through the result once before it goes out.
Getting the look right
Match the mode to the paper
Grayscale is the safe default for text, because it is what most office scanners produce. Black & white suits forms where only the ink matters; pick Color when a stamp, a signature in ink or a photo should survive the conversion. Switching modes in the preview costs nothing, so try the borderline pages both ways.
Skew and grain carry the effect
What makes a page read as scanned is rarely the color; it is the slight rotation and the noise. A small skew does more than heavy grain, and grain pushed far starts to eat thin strokes. The sliders start at sensible values, so small nudges are usually enough.
The reverse trip: make scans searchable
If your problem runs the other way, a real scan whose text no search can see, recognition is the tool for that job. The OCR tool adds a text layer to scanned pages, so the words become selectable and searchable.
Frequently asked questions
Does the whole file convert, or just the page in the preview?
The whole file. One set of settings applies to every page; the preview simply shows the selected one. For a multi-page PDF, the arrows above the preview walk through the pages so you can spot-check the rest.
Will it look like my actual office scanner?
It looks like a scanner in general: tint, skew and grain are the artifacts scanners share, not the signature of any particular model. What you check in the preview is what the download contains, so judge by the preview rather than by expectations.
Do photo inputs get a page size?
Yes. Photos carry no page size of their own, so image inputs offer A4 or Original as the output page size in the Advanced settings. PDF inputs keep their existing page dimensions.